Showing posts with label craft. Show all posts

Wednesday, March 20, 2013

Before & After ~ Easter Topiary

This week a thrift store in my area moved to a much bigger location.  I thought it would be supportive of me to "help them celebrate" their grand opening *wink*.  I took a quick run in one afternoon.  What a celebration.  The very spacious parking lot was full, and both sides of the four lane highway were lined with cars (including mine!)  I hurried inside and grabbed a shopping cart. This little "before and after" is one of my finds from that day.  


I spotted this cute little Easter topiary just as another lady picked it up off the shelf.  So I just waited patiently and she finally decided to put it back!  Swoosh!!!!  (That was me grabbing it quickly!) ;)  This topiary was too "bright" for my taste.  I was looking for a more muted look.  So the first thing I did was tear out all the bright green moss and silk flowers.  


That's better...but the pot was too bright as well.  I took it outside on the weekend.  It was -1 and sunny.  Too cold really for spray painting outside.  But I spray painted it anyway and took it back into the warm house to dry.  The pot looks white in this picture but it is actually a warmer ivory color.  


I'm getting there!  Then I took the glue gun and Spanish moss.  I just broke off small bunches of the moss and glued it in between the eggs, and at the base of the topiary branch.  


Oh, so much better!  Are you doing some Easter/Spring decorating?  I'm working on it now.  It makes my heart sing!  Such a very fun time to decorate.  

Wishing everyone a very Happy Spring!

Tanya

Joining:
Seasonal Sunday


Continue Reading....

Monday, January 28, 2013

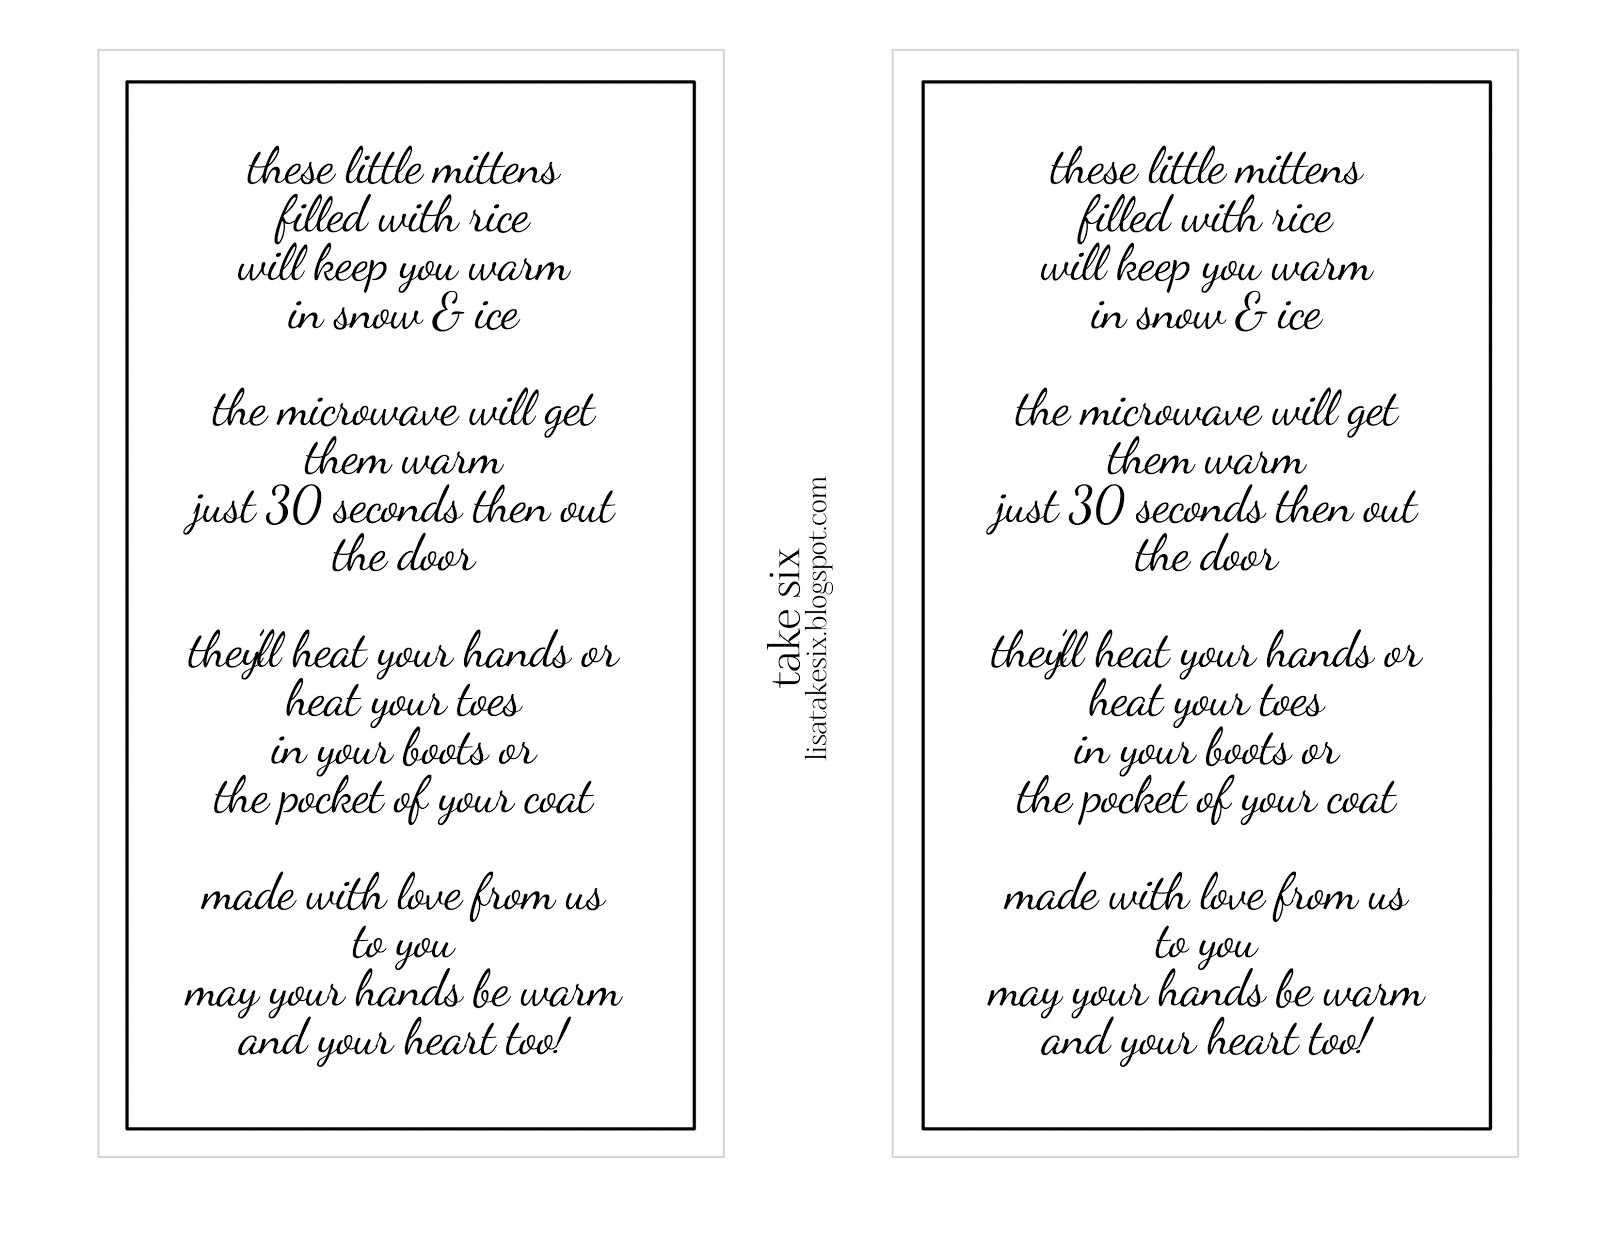
Hand Warmers

We could use many sets of these hand warmers
in Nova Scotia this month.  
Let's just say...it's freezin!!!!

Gwyneth's daughter, Sarah, and her cousin Nicole
made up these sweet hand warmers.

Aren't they cute?
I knew you would like them,
so after getting permission from Sarah and Nicole,
I got my daughter, Nicole (different Nicole)  :)
to make up templates of the
mitten pattern and poem for you.    


Supplies:
  • fabric of your choice (fleece scarves from the Dollar store work perfectly)
  • sewing machine OR needle and thread
  • rice
  • scissors
  • ribbon

Directions:


1.  Print off the cute little mitten template.  
2.  Cut two mitts out of your fabric, for every mitten you would like to make.
3.  Place two mittens together and sew them all the way around
     except for the hand opening. 
4.  Fill the mitten with rice.  Sew the hole closed.  
5.  Tie a set of mittens together with ribbon and a copy of the poem.
      
                           You are all set to give these as gifts!


Joining:
In and Out of the Kitchen
Inspiration Board Party
Continue Reading....

Monday, January 14, 2013

Valentine Garland

While sorting through and organizing Christmas
decor after the holidays I came across this strand
of pink mini lights.  I think they must have been used
on one of my daughters little trees in their
bedroom at some point.  I just kept them out
and thought I might fit them into Valentine's
decor somewhere.  I'm not a big Valentine's
decorator.  Just a little touch here and there.

Pinterest to the rescue for inspiration!
Have you seen these Valentine's garlands?
This is my spin on them.  


Pink (or clear)  mini lights + heart paper doilies + hole punch


Gently fold over the doilie, being careful not to crease it. 
 Punch a half hole.


Gently push a bulb through the hole.  
It doesn't get much easier than that.  
You can alternate heart shaped and round doilies on your garland, 
or use clear lights and red doilies too!
The fun part about creative projects is making it
completely your own. 


Last week I spent some time putting away Christmas dishes
and pulling out some pink for Valentine's.
This was the perfect spot for my new garland.


So pretty at night.


Tanya

Joining:
Continue Reading....

Wednesday, September 26, 2012

"New" Fall Wreath


~Welcome Fall~


 Hubby painted the front door black this summer.  We've only lived here 10 years, so that's not bad eh?  For the first few years, there were other projects that took priority.  But I have to admit, it was me dragging my feet on the color.  Decisions are hard sometimes.  ;)  Once it was done, all I could picture was a beautiful colorful fall wreath welcoming everyone who came to the door.  


Continue Reading....

Thursday, September 20, 2012

Takin' Charge

Isn't spray paint the best thing since sliced bread?
Honestly, what did DIYers do before spray paint?

What I'm sharing with you is not rocket science.
Just real quick, easy, and so easily changed.


Supplies:

8 dollar store charger plates that you've had for ages
1 can of spray paint

that's all folks!!


These silver chargers have been around for awhile,
and like some of us, they are starting to show their age. ;)


But after 2 coats of "Hammered Copper"...


they will be perfect for my Thanksgiving table plans.


For the price of a can of spray paint, I have a set of 8 "new" charger plates.

For the price of another can of spray paint,
 I can paint them again and have another "new" set for my Christmas table! 
How easy is that?


Tanya


Continue Reading....

Tuesday, July 17, 2012

Dipped Cutlery Tutorial

Before I get into this post
 I want to remind you all of our wonderful giveaway
going on right now!!
Please visit HERE to have 5 opportunities to enter
for a chance to win this beautiful beach glass necklace
Draw date:  July 20


Dipped cutlery is very easy to do.  Pick up some very inexpensive cutlery and a can of Plasti Dip.  I got new everyday cutlery so I decided I would "dip" my old set.  I choose red Plasti Dip at my favorite Home Hardware store.  There were some other color options:  black, yellow, and white.  Plasti Dip is a rubberized coating to use on tool handles etc. 


I did this by holding onto the end of the utensil and dipping the handle into the Plasti Dip.  I dipped each piece twice.  Once did not coat enough for the look I wanted.  I poked the end underneath a heavy box and let them sit to dry.  I left them overnight to be sure.


When they are first dipped you no longer see any pattern on the utensil.  


Once they are completely dry, you can see the pattern again.


Note:  I do not put these in the dishwasher, because I'm not sure if it would ruin the coating.  


This tablescape is a tribute to my wonderful country.
See the Canada Day Tablescape HERE. :)


Now that the cutlery is done, I may try dipping the stems of some glassware.  What else could I do with my Plasti Dip?  Any ideas?


Joining:
Tablescape Tuesday
Heart and Home
Teach Me Tuesday
Tutorials, Tips & Tidbits
Treasure Hunt Thursday
Strut Your Stuff


Continue Reading....

Thursday, May 17, 2012

Ladies Retreat ~ Craft

I've been sharing with you parts of our church Ladies Retreat.  The first night I hosted a workshop.  It was called, "Decorating with Teacups".  I had gathered ideas from all over the internet and Pinterest using teacups, saucers, and tea pots for decorating.  I put these on a power point presentation and we viewed it together.  What a fun time we had together oohing and awing over all these pretty pictures, and very creative ideas.    

We also had a fun time together creating our own version of a couple of the pictures.  Many ladies made one of these teacup bird feeders.  So cute!


First, we glued the teacup to the saucer.  Then we glued a 1/2 " copper cap to the bottom of the saucer.  


I'm sure there are many types of glue that would be great for this project.  We used GLOOZIT - Home & Garden to glue the cup to the saucer.  Then we used GLOOZIT - Plumber for the copper fitting.  I purchased these at Home Hardware.  The teacup then fits onto a piece of copper pipe by slipping the copper fitting onto the top of the pipe.  No glue necessary for this step.

You can see that the cup does not match the saucer in the next picture.  You may also notice that there is a crack inside the cup.  I think these cracked, mismatched pretties are too nice to just do away with.  They can still be loved and enjoyed.  This one will be enjoyed in my garden!


This cup and saucer do not match either.  But it is feeding the birds in my back yard!


As the ladies went away, many of them shared with me what they were going to do with the ideas we shared together.  I love being creative.  However, to assist others in being creative is such a thrill.  Thank you to all the ladies that shared that special time with me! 


Joining:
Feathered Nest Friday
Inspiration Friday
Home Sweet Home
Saturday Night Spotlight
Pink Saturday
Strut Your Stuff Saturday
Continue Reading....

Wednesday, March 21, 2012

Happy Spring


Happy Spring from Take Six


The Christmas wreath is a thing of the past season.  The wooden snowman that I hung on it for the winter has long since been packed away.  Spring has officially sprung!!


While driving last spring I spotted this idea on the doorstep of a gorgeous old home in our city.  They had the exact cast iron urns that I do.  I promptly made a quick trip to the Dollarama.  I am sure you are shocked.  ;)  Frequent readers will know that I LOVE that store.  I bought 6 stems of pussy willows, and 3 bundles of white tulips. I cut the tulips into individual stocks, and poked them into the soil in a circle.  Then I poked 3 pussy willow stems into the center of each urn.  That's it.  I was finished.  You can not get much easier than that! 


It is the simplicity of this decoration that is so pleasing to my eye.


Pussy Willows

Author Unknown

There are willow pussies
Clad in furry goods,
And a robin singing
In the maple woods.
There's a springing crocus,
And a budding larch,
Who'd ever think the Springtime
Came along in March.


Joining:
Wild Wednesday
Made by Me
Feathered Nest Friday
Inspiration Friday
Show and Tell Friday
Home Sweet Home
Potpourri Friday
Saturday Night Special
Seasonal Sunday
Creative Me
Continue Reading....

Wednesday, March 14, 2012

DIY 3-Layer Plate


A couple years ago, I purchased two of these April Cornell salad plates on clearance at HomeSense.   You have seen what I did with one of them,  right HERE.  This winter I found two of the matching dinner plates at a thrift store.   


I usually have a couple of Dollarama candle holders in my "stash", just in case...you know.   A girl has to be prepared.  ;)


The first thing I did was find the middle of two of the plates. 


I glued the candle holders onto the bottom of the plates (while the plates were upside down).  I always forget about taking pictures each step of the way.  At this stage, my little project could have been complete and I would have had two beautiful raised cake plates.


However, I decided to keep going, since I had another plate that matched.  I now have a 3 layer sweet plate, or a sweet 3 layer plate ;)  that cost me about $8.  I think my bunny is hoping for carrots on that plate.  But anyone who knows me, knows the snack will be MUCH sweeter!! 


Joining:
Continue Reading....

Thursday, December 1, 2011

Easy Gift Idea #2

Sometimes a long hot soak in the tub is just what we need to relax and rejuvenate us to keep going.  This time of year we especially need it.  We have lists a mile long of things to accomplish, and our calendars are dotted with events, Christmas parties, concerts, etc.  


This bath soak is perfect after a long day, or before a late night.  It is a great stocking stuffer, hostess gift, or a little something for that person that has everything!


Bath Salts


Soothing Bath Soak

4 cups Epsom salts
1 cup baking soda
1/2 cup sea salt
2 TBS dried herbs (finely ground)


I gathered all the ingredients in a big bowl and stirred it together.  


I choose not to add the herbs, as I didn't want them floating in my bath water, but you may not mind that.    


I used my canning funnel to put 1 Cup amounts in small cellophane bags. 


Instead of the herbs, I added 2-3 drops of Lavender fragrance in each bag.


Each bag was tied with a soft pink and rose colored ribbon.  


Doubling the "recipe" gave me 10 - 1 Cup bags.  Each bag is good for 1-2 baths. The longest part of making them was tying the ribbons on the bags.  It is such an great gift, and today is December 1st.  Time to get serious about our Christmas gift ideas. You will definitely want to make lots, so you can keep some for yourself! 


Joining:
Continue Reading....

Wednesday, November 2, 2011

Easy Gift Idea #1

November is here...I know, I can't believe it either.  Besides all of the obvious things that November means; in our house, it is the beginning of "dry skin season".  Flaky legs and arms, as well as dry and cracked hands are all a realistic part of winter.  This year we have a wonderful solution and I want to share it with you.  Thanks to "The Colorado Lady" and her fabulous blog post, I have the easiest and cheapest "recipe" for a super lotion.  


The first stop I made was at "The Dollarama" of course!  There I picked up a lovely smelling pink baby lotion, and Vaseline.  If they had a Vitamin E cream I would have grabbed that as well.  But I had to get that at the Superstore (our local grocery chain).  


I used my mixer and put all three items in the bowl.  (I tripled this batch)
Vitamin E cream and Vaseline

Pink baby lotion on top
Turn the mixer on low and give it lots of time to mix well.  When it combines it turns very nice and fluffy.

The Colorado lady used baby food jars for her lotion. She spray painted the lids pink and decorated them.  They are sweet.  I chose to use these Mason Jars.  I loved the size of them.  I will wrap ribbon around them before giving them as gifts.  I've seen jars on sale this time of year in the grocery store.  I guess they know "canning season" is complete for another year and don't want to hold on to the stock through the winter.  Keep your eyes opened.


It is also a great lotion for feet, knees, and elbows, as well as those little red chapped toddler cheeks!!


A perfect economical gift idea for friends, neighbors, co-workers, teachers, mail and paper carriers.  Tuck one in a baby shower gift bag.  Use as a stocking stuffer.  But most importantly, use it to keep that dry skin away this winter!!


Joining:
Continue Reading....
Pin It button on image hover